Tonight I was cleaning my apartment, like deep cleaning, in preparation for the arrival of some of my cousins this weekend. I hate cleaning up, and will often look for any opportunity to distract me from actual cleaning. Bonus points if I can pretend that it is helping me to be more organized. So when I came across a stack of random store loyalty cards that I do use, but not frequently enough to keep in my main wallet, I thought to myself the following:
I should get a second card wallet for those.
Wait, I have a bag of awesome fabrics.
And a sewing machine.
And I'm good at making stuff up as I go.
I should make a card wallet for those.
And so I did.
DIY Loyalty Card Holder
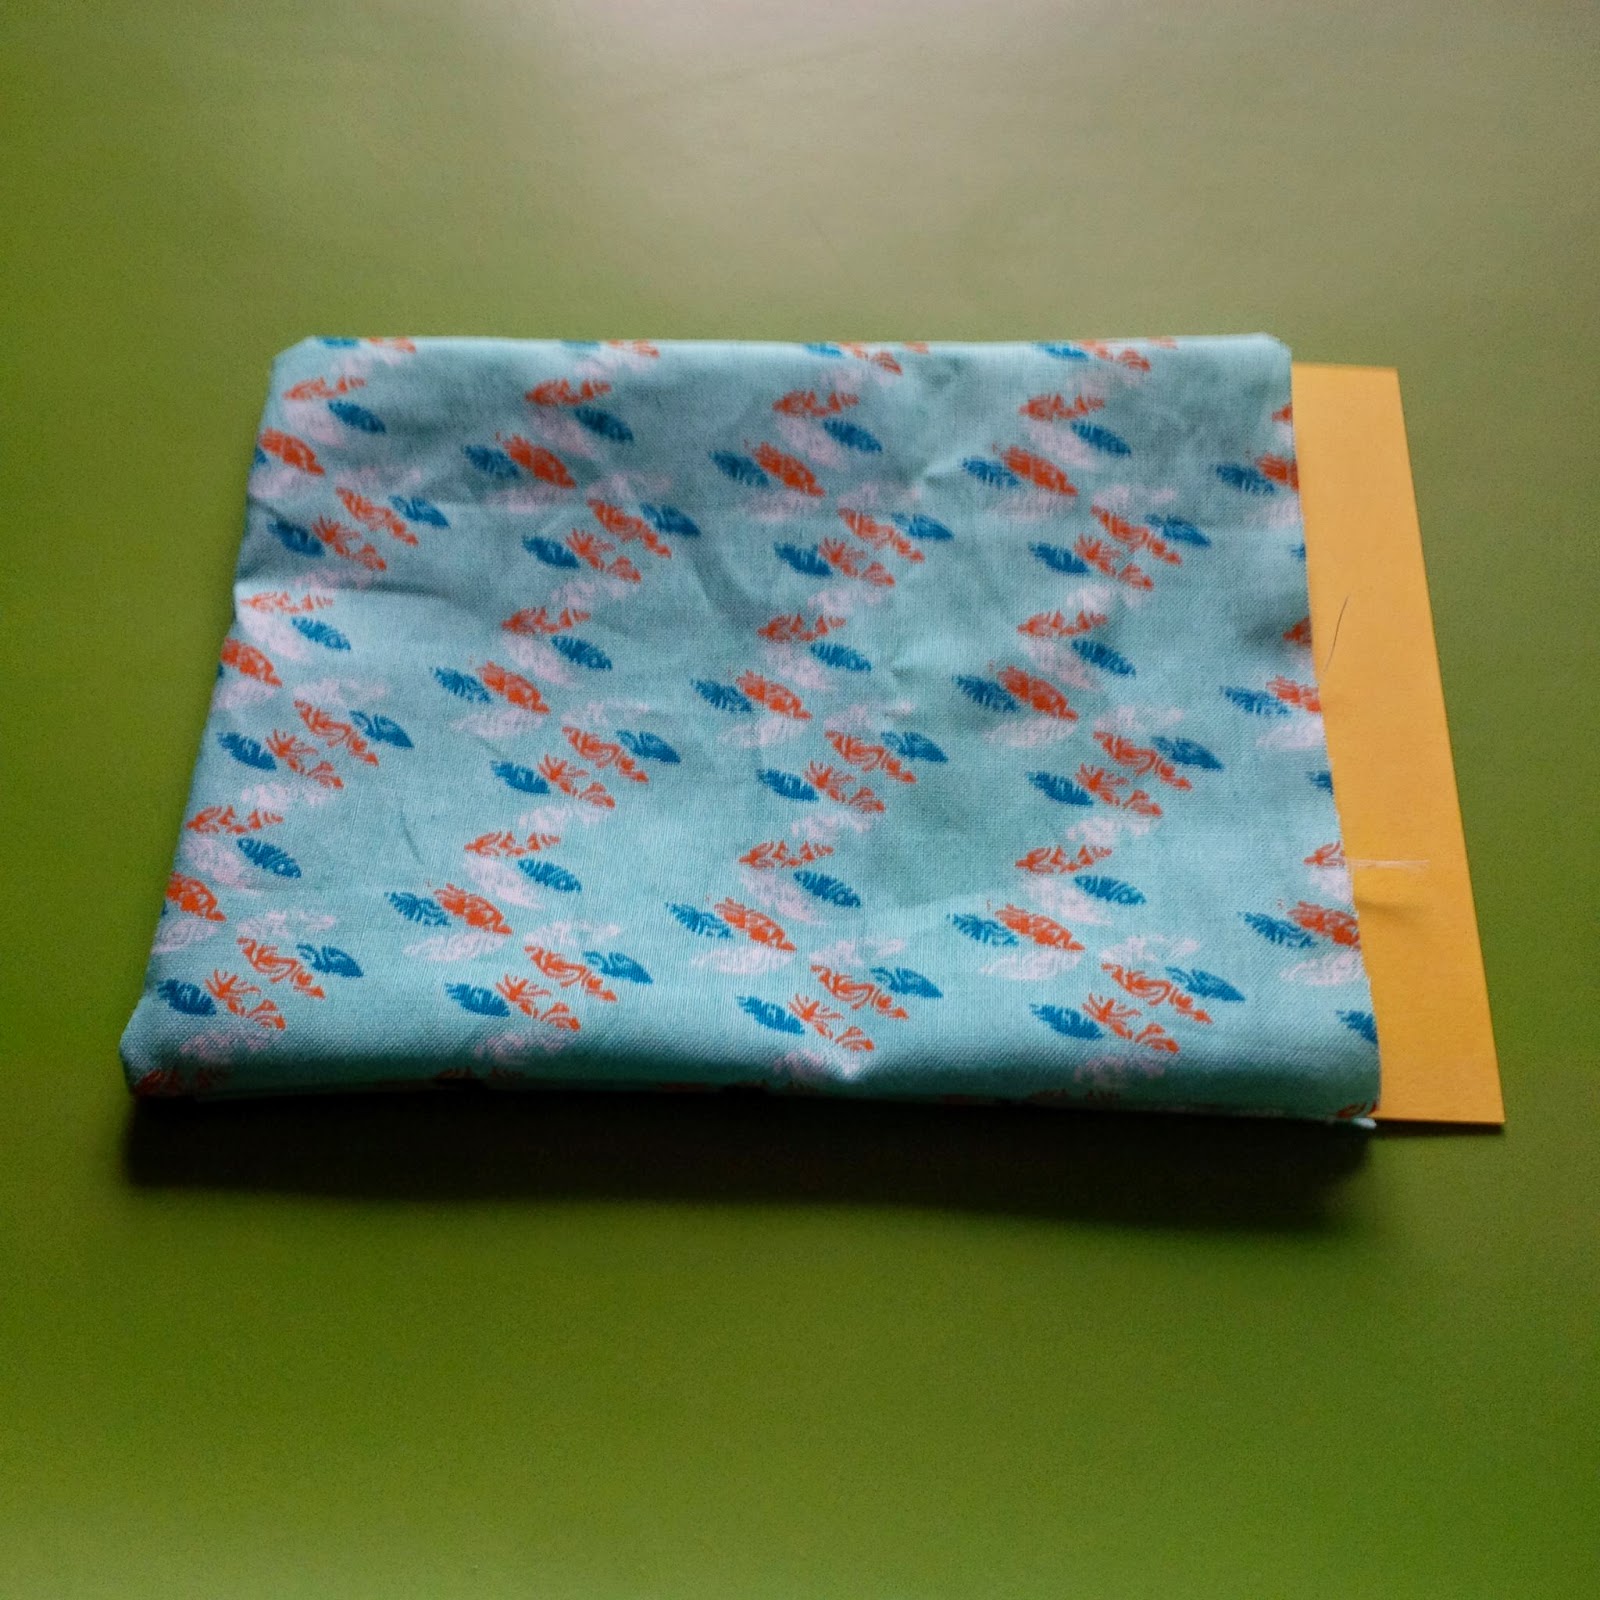
Cut 2 pieces (5.5 by 3.5 inches) of your main colour, 1 (6 by 4.75in) and 1 (6 by 2.5in) of your contrasting colour. You'll also need 2 pieces of craft paper (thicker than printer paper, thinner than card stock) cut to 6 by 4.5in, and a snap.
Start by sewing the main colour pieces into a pocket. Then insert the first of the paper pieces.
Once it's snug inside you can sew it in place, I sewed a quarter inch boarder all around the card (right through all three layers on my sewing machine no problem). Then sewed a mid line before inserting the second piece of paper, and repeating the process while tucking in the open ends of the fabric pocket.
This is the base for your card holder/wallet thing. Now to make the pockets for the cards. Take the larger piece of the contrast fabric, and roll and sew a hem on each of the short ends.
Then sew it in place by machine sewing right through all of the layers of your wallet (be sure to tuck the unfinished ends under, pin it in place and test to make sure a card fits before you sew). Then sew two lines to set how deep the cards will sit in the pocket. You can see that I am not good at sewing straight in the picture below.
Next up is the strap for a closure, take you last piece of fabric and sew it into a long tube, flip it right side out tuck the ends in and sew it to the back of your wallet.
Add the snap to the front, I choose to hand sew it on, right through both layers of the strap, being careful to make sure the stitches made a neat 'X' on the side you would see. Then trim all your hanging bits of thread (because you sew like a slob) and you're good to go!
It's a great way to keep all your extra cards neat and tidy in your purse (I can't wait to use that Keg gift card!) And it kept me busy and not cleaning my apartment for about half an hour!
Does anyone else hate house work as much as me? What diversions do you come up with when you should be cleaning?