Happy Easter ladies and gents! I hope that Peter Rabbit came hippity hoppiting through your neighbourhood to leave some eggs and treats for you to search for this morning. Here in Calgary he left footprints behind in our blanket of fresh snow, reminding us all that despite the warm weather, summer's still a fair way off.
This year, for the first time since I was a kid, I decorated eggs.
I did some of the traditional variety (these were dyed for an attempt at Easter Bread which failed horribly).
And got creative with some craft supplies I had around the house and some plastic eggs.
I tried feathers, a sticky mess, but well worth it.
And Washi tape, which makes for a very quick decorated egg.
If you want to spend 20 minutes burning you fingers with your hot glue gun, you can do yarn wrapped eggs.
The process sucked so badly I gave up after one egg.
Much better than yarn, however, was wrapping eggs in some of the fabric scraps from a quilt I made two years ago.
Once all was said and done, I gave my eggs a quick coat of glossy gesso (you could use modge podge) to seal all the edges down.
The finished eggs look great, and were a lot of fun to make. I still have a dozen or so plastic eggs, so I'll probably spend some time this afternoon decorating a few more.
Hope you have a Happy Easter!
Showing posts with label DIY. Show all posts
Sunday, April 5, 2015
Sunday, February 1, 2015
Valentines Day DIY Round Up
Ooof! It's February 1st already. Which means Valentines day is right around the corner. I'm already done a couple of crochet'd V-day projects which are featured over at YarnLab.ca, but I thought I'd share with you a V-Day DIY Round Up, of projects I wish I had time for in the next 2 weeks. (Maybe I'll get one or two of them done).
First off, here are 5 knit or crochet projects I'm dying to do.
- Crochet chocolate kiss.
- Anatomical knitted heart (I've actually made this once before).
- Crochet conversation heart pillow.
- Hanging mobile of stuffed crocheted hearts.
- Love Shack record crocheted floor cushion.
- Conversation Hearts Topiary.
- Love Bug Cake Ball (I thought it was a pom pom at first, nope it's cake!)
- Ruffled felt heart wreath.
- Chocolate dipped, marshmallow filled strawberry hearts.
- 52 things I love about your deck of cards.
Interested in seeing what I made for Kevin last year for Valentine's Day? Click on over to see my little love squirrel.
Sunday, October 26, 2014
Weekend Project: Fruit Crate Shelf
Friday afternoon I wandered into Zoe's Store on 14th, a great little thrift store, always full on inspiration, and picked up a simple wooden fruit or veggie crate for $12. (They had a sturdier 25 dollar option, but I thought this ricketier one had more charm).
Since shabby chic is all the rage right now, you can find thousands of ideas for what to do with these crates on Pinterest. I thought to make a shelf out of mine.
Coming to me as is though, meant it needed some work.
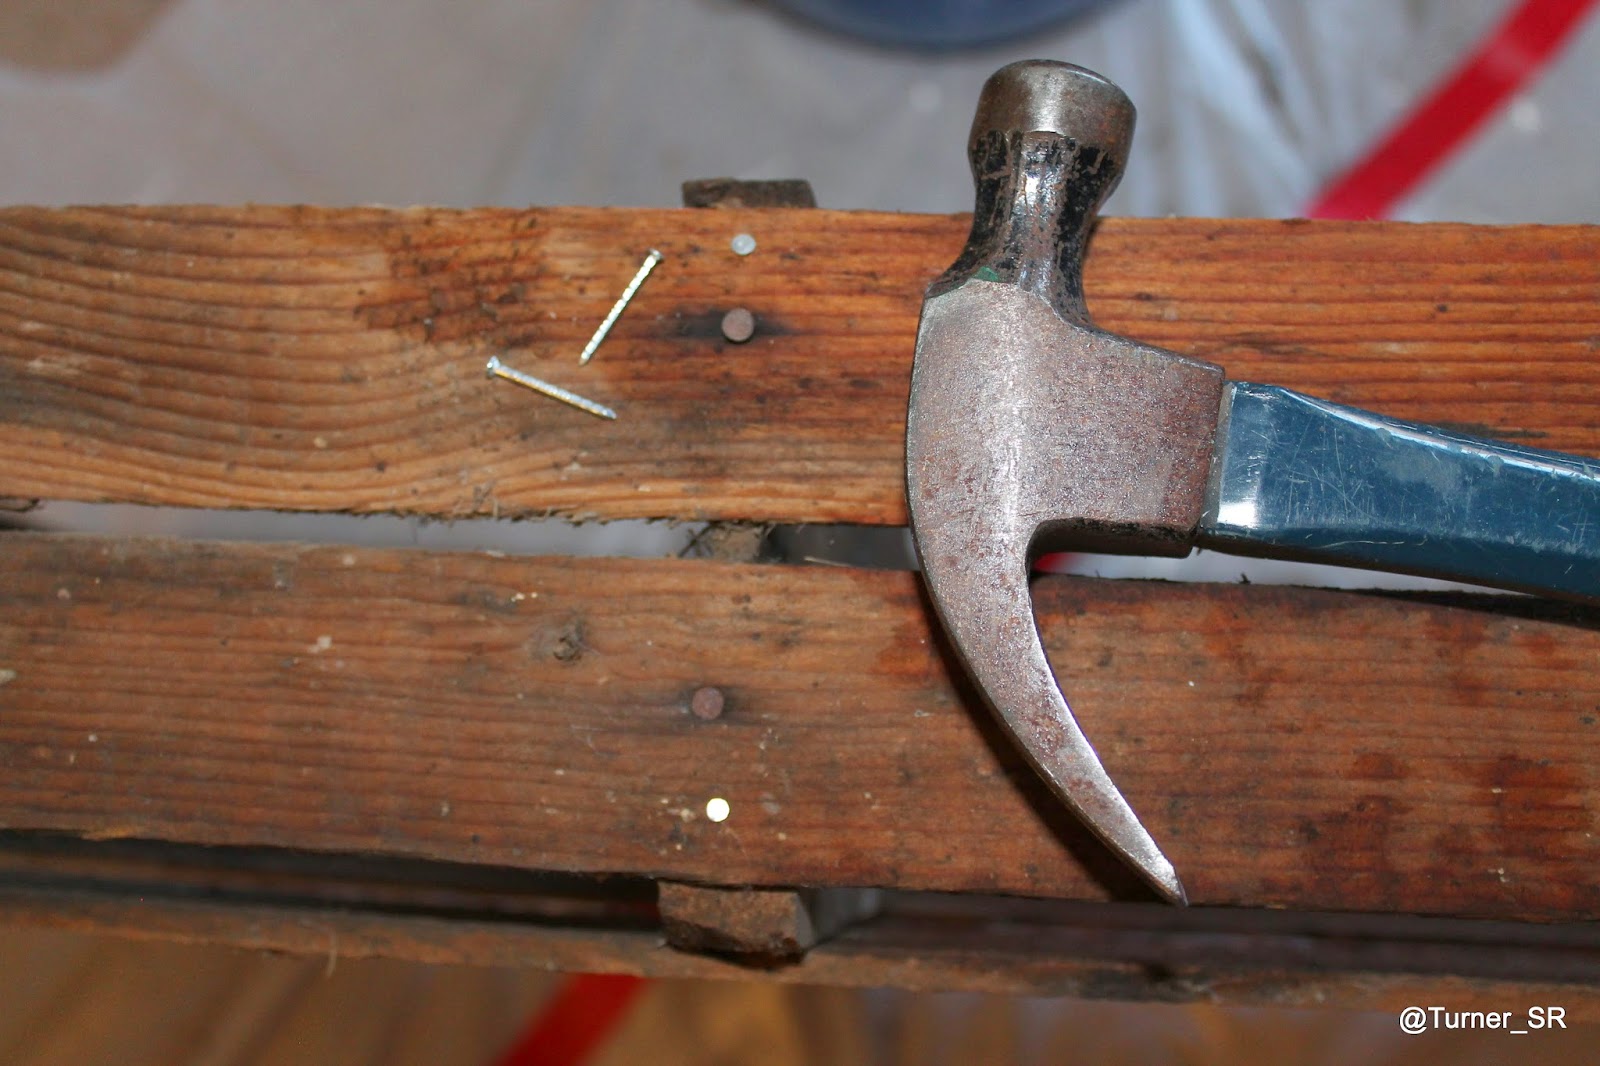
I pulled out some old nails, and added some new ones.
Gave it a serious scrubbing (the clear water in the pail was practically mud by the time I was through.
I resisted the temptation to paint it, wanting to salvage the original labeling on top.
And instead gave the inside a coat of a deep mahogany stain (two in one stain and polyurethane sealant).
Added some brackets for easy hanging and threw it up on the wall.
Furnished it with an ikea lantern, and a pair of milk bottles, not to mention some fresh fruit, and there you have it, a quick and easy weekend project in the bag!
Tuesday, October 21, 2014
Crochet Corner: Floor Cushion
When I have to start new things (and I'm procrastinating on them) I sometimes find a related task I like better, to do first. For instance to work on writing project for school, I certainly didn't decide I needed a new work area and then spend a day wandering ikea and assembling a desk and lamp. I mean that doesn't sound like me.
So as part of my goal of leading a more yogic life style, I decided I should give meditation a try. Which of course means I need a cozy floor cushion to sit on while I do it. So naturally that means a whole new crochet project (and not actual time spend meditating yet).
So here's the finished product.
And here's the pattern.
Solid round bottom side (12 rounds):
Round 1: Using a super bulky weight yarn in main colour, and a 6.5mm (K) hook, chain 4 and then make 11 DC into fourth chain from hook (12 DCs)
Round 2: 2 DC into each DC (24 DCs)
Round 3: *1 DC into first DC, 2DC into next DC* repeat around 12 times (36 DCs)
Round 4: *1DC into each of first 2 DC, 2DC into next DC* repeat around 12 times (48 DCs)
Continue in this manner, increasing by 12DCs evenly around, until you have completed 12 rounds (144 DCs)
Sides of cushion (3 rounds):
On next round, 1DC into each DC all of the way around, working only into back loop of the previous round (round 12 of the flat bottom circle). This will create a square edge between bottom circle and sides.
Next round, 1DC into each DC all of the way around, working now into both loops (normally).
Repeat previous row.
Top of cushion (12 rounds):
Round 1: *1 DC into each of next 10 DCs, then DC2tog* Repeat around 12 times (132DCs) working into back loops only of previous row (to create a square edge between top circle and sides.)
Round 2: *1DC into each of next 9 DCs, then DC2tog* Repeat around 12 times (120DCs) working into both loops of previous round as normal.
Round 3 *1DC into each of next 8 DCs, the DC2tog* Repeat around 12 times (108DCs).
Continue in this manner decreasing 12DCs evenly around, until round 11.
Stuff your cushion full of fiberfill... I used nearly an entire large bag.
Round 11: DC2tog 12 times around.
Round 12: 12 DCs.
Bind off yarn and sew the hole in the center, pulling 8 DCs of previous round tight.
Colour pattern: I did rounds 1,2,11 and 12 in the main colour, rounds 3,4&5 in blue, 6,7&8 in green and 9&10 in purple colours.
Trim:
The two rows that were worked only in the back loop can now be worked in the front rows to add a decorative trim, which also helps define the shap of the cushion.
With second colour (worsted weight yarn) and 5mm (H) hook, 1SC into front loops only of each DC in these rows. (Row 12 bottom and row 3 sides).
Overall this cushion was super easy to make, help me to use up yarn from my stash and is super comfy to sit on.
One great tip, if you don't have any Super Bulky (size 6) yarn around, you can mix and match yarns together, for the blue and the green stripes I held a size 4 and size 2 yarn together. For the purple stripe I held a 3, 2 and 1 together. Doing this for the whole cushion would really burn through your yarn stash, and creates a great tweed look!
Reverse side (in the magazine you can see the blanket I'm also working on right now)
What yarn projects are you working on lately?
So as part of my goal of leading a more yogic life style, I decided I should give meditation a try. Which of course means I need a cozy floor cushion to sit on while I do it. So naturally that means a whole new crochet project (and not actual time spend meditating yet).
So here's the finished product.
And here's the pattern.
Solid round bottom side (12 rounds):
Round 1: Using a super bulky weight yarn in main colour, and a 6.5mm (K) hook, chain 4 and then make 11 DC into fourth chain from hook (12 DCs)
Round 2: 2 DC into each DC (24 DCs)
Round 3: *1 DC into first DC, 2DC into next DC* repeat around 12 times (36 DCs)
Round 4: *1DC into each of first 2 DC, 2DC into next DC* repeat around 12 times (48 DCs)
Continue in this manner, increasing by 12DCs evenly around, until you have completed 12 rounds (144 DCs)
Sides of cushion (3 rounds):
On next round, 1DC into each DC all of the way around, working only into back loop of the previous round (round 12 of the flat bottom circle). This will create a square edge between bottom circle and sides.
Next round, 1DC into each DC all of the way around, working now into both loops (normally).
Repeat previous row.
Top of cushion (12 rounds):
Round 1: *1 DC into each of next 10 DCs, then DC2tog* Repeat around 12 times (132DCs) working into back loops only of previous row (to create a square edge between top circle and sides.)
Round 2: *1DC into each of next 9 DCs, then DC2tog* Repeat around 12 times (120DCs) working into both loops of previous round as normal.
Round 3 *1DC into each of next 8 DCs, the DC2tog* Repeat around 12 times (108DCs).
Continue in this manner decreasing 12DCs evenly around, until round 11.
Stuff your cushion full of fiberfill... I used nearly an entire large bag.
Round 11: DC2tog 12 times around.
Round 12: 12 DCs.
Bind off yarn and sew the hole in the center, pulling 8 DCs of previous round tight.
Colour pattern: I did rounds 1,2,11 and 12 in the main colour, rounds 3,4&5 in blue, 6,7&8 in green and 9&10 in purple colours.
Trim:
The two rows that were worked only in the back loop can now be worked in the front rows to add a decorative trim, which also helps define the shap of the cushion.
With second colour (worsted weight yarn) and 5mm (H) hook, 1SC into front loops only of each DC in these rows. (Row 12 bottom and row 3 sides).
Overall this cushion was super easy to make, help me to use up yarn from my stash and is super comfy to sit on.
One great tip, if you don't have any Super Bulky (size 6) yarn around, you can mix and match yarns together, for the blue and the green stripes I held a size 4 and size 2 yarn together. For the purple stripe I held a 3, 2 and 1 together. Doing this for the whole cushion would really burn through your yarn stash, and creates a great tweed look!
What yarn projects are you working on lately?
Tuesday, August 12, 2014
DIY: Loyalty Card Holder
Tonight I was cleaning my apartment, like deep cleaning, in preparation for the arrival of some of my cousins this weekend. I hate cleaning up, and will often look for any opportunity to distract me from actual cleaning. Bonus points if I can pretend that it is helping me to be more organized. So when I came across a stack of random store loyalty cards that I do use, but not frequently enough to keep in my main wallet, I thought to myself the following:
I should get a second card wallet for those.
Wait, I have a bag of awesome fabrics.
And a sewing machine.
And I'm good at making stuff up as I go.
I should make a card wallet for those.
And so I did.
DIY Loyalty Card Holder
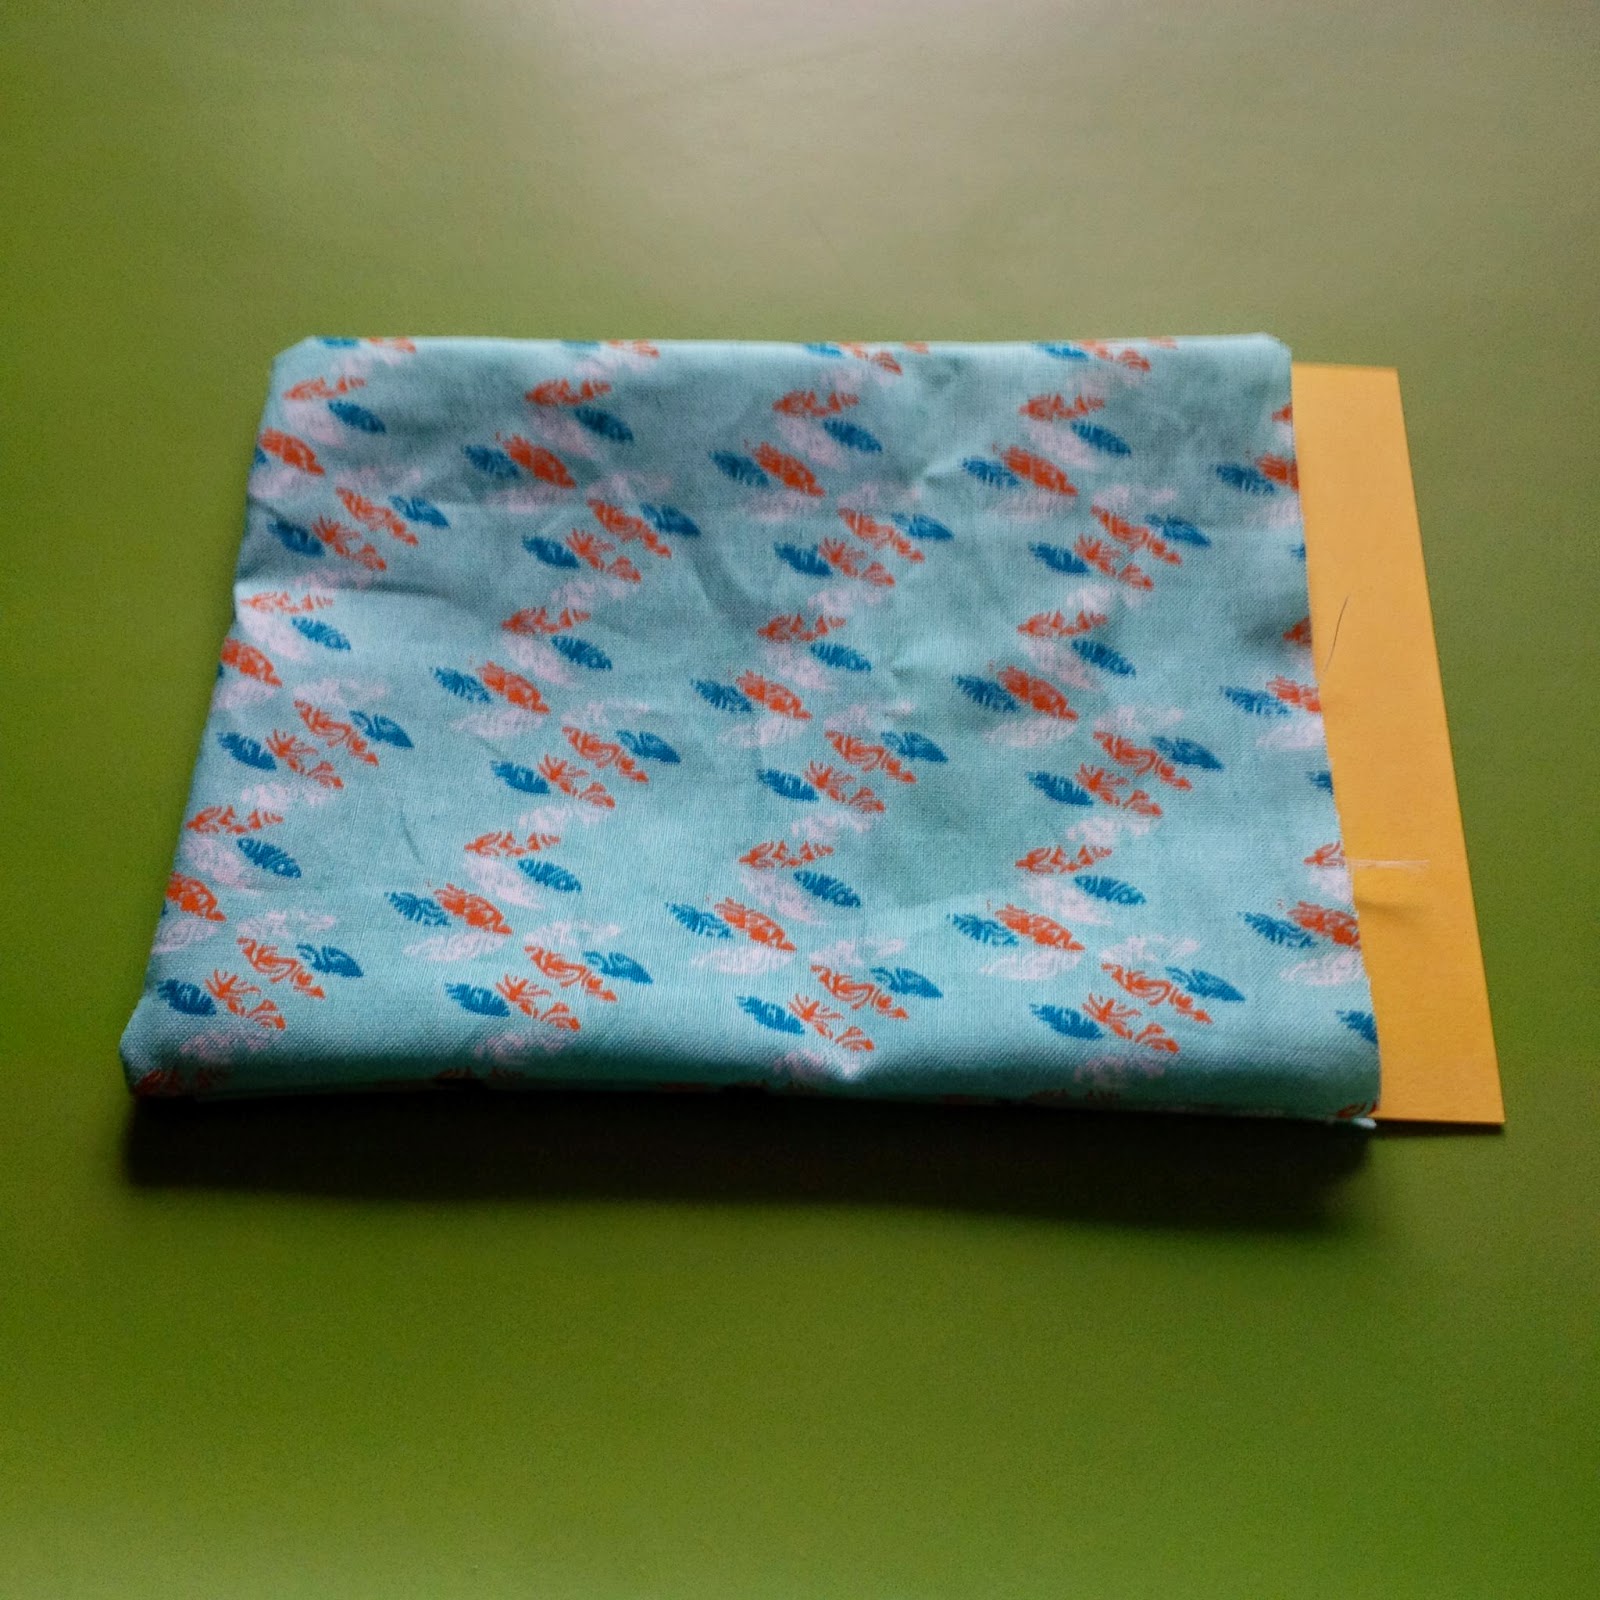
Cut 2 pieces (5.5 by 3.5 inches) of your main colour, 1 (6 by 4.75in) and 1 (6 by 2.5in) of your contrasting colour. You'll also need 2 pieces of craft paper (thicker than printer paper, thinner than card stock) cut to 6 by 4.5in, and a snap.
Start by sewing the main colour pieces into a pocket. Then insert the first of the paper pieces.
Once it's snug inside you can sew it in place, I sewed a quarter inch boarder all around the card (right through all three layers on my sewing machine no problem). Then sewed a mid line before inserting the second piece of paper, and repeating the process while tucking in the open ends of the fabric pocket.
This is the base for your card holder/wallet thing. Now to make the pockets for the cards. Take the larger piece of the contrast fabric, and roll and sew a hem on each of the short ends.
Then sew it in place by machine sewing right through all of the layers of your wallet (be sure to tuck the unfinished ends under, pin it in place and test to make sure a card fits before you sew). Then sew two lines to set how deep the cards will sit in the pocket. You can see that I am not good at sewing straight in the picture below.
Next up is the strap for a closure, take you last piece of fabric and sew it into a long tube, flip it right side out tuck the ends in and sew it to the back of your wallet.
Add the snap to the front, I choose to hand sew it on, right through both layers of the strap, being careful to make sure the stitches made a neat 'X' on the side you would see. Then trim all your hanging bits of thread (because you sew like a slob) and you're good to go!
It's a great way to keep all your extra cards neat and tidy in your purse (I can't wait to use that Keg gift card!) And it kept me busy and not cleaning my apartment for about half an hour!
Does anyone else hate house work as much as me? What diversions do you come up with when you should be cleaning?
I should get a second card wallet for those.
Wait, I have a bag of awesome fabrics.
And a sewing machine.
And I'm good at making stuff up as I go.
I should make a card wallet for those.
And so I did.
DIY Loyalty Card Holder
Cut 2 pieces (5.5 by 3.5 inches) of your main colour, 1 (6 by 4.75in) and 1 (6 by 2.5in) of your contrasting colour. You'll also need 2 pieces of craft paper (thicker than printer paper, thinner than card stock) cut to 6 by 4.5in, and a snap.
Start by sewing the main colour pieces into a pocket. Then insert the first of the paper pieces.
Once it's snug inside you can sew it in place, I sewed a quarter inch boarder all around the card (right through all three layers on my sewing machine no problem). Then sewed a mid line before inserting the second piece of paper, and repeating the process while tucking in the open ends of the fabric pocket.
This is the base for your card holder/wallet thing. Now to make the pockets for the cards. Take the larger piece of the contrast fabric, and roll and sew a hem on each of the short ends.
Then sew it in place by machine sewing right through all of the layers of your wallet (be sure to tuck the unfinished ends under, pin it in place and test to make sure a card fits before you sew). Then sew two lines to set how deep the cards will sit in the pocket. You can see that I am not good at sewing straight in the picture below.
Next up is the strap for a closure, take you last piece of fabric and sew it into a long tube, flip it right side out tuck the ends in and sew it to the back of your wallet.
Add the snap to the front, I choose to hand sew it on, right through both layers of the strap, being careful to make sure the stitches made a neat 'X' on the side you would see. Then trim all your hanging bits of thread (because you sew like a slob) and you're good to go!
It's a great way to keep all your extra cards neat and tidy in your purse (I can't wait to use that Keg gift card!) And it kept me busy and not cleaning my apartment for about half an hour!
Does anyone else hate house work as much as me? What diversions do you come up with when you should be cleaning?
Monday, July 21, 2014
Easy Crochet Baby Blanket with Pattern
Everyone I know is having babies, or getting married...or having babies and getting married... or their babies are getting married. Anyways, as I usually like to hand make gifts for such important things in peoples lives I've been surrounded in yarn lately. I just finished up this pretty and simple crocheted baby blanket, it's adapted from a pattern from the 1960s or something from my grandmother. So I've included the simplified pattern below.
The finished blanket is actually pretty large (that's it taking up about a third of my double bed).
I really enjoy the fact that it looks almost like it was worked in squares and then assembled, but the easy 95% double crochet pattern means no seams and really quick work up.
The pattern is very straight forward. You can use any yarn you like (and the recommended hook size on the label), my blanket took just under 4 balls of Bernat Giggles in Giggling Green (although in these pictures it does look more blue) and the white yarn was just left over Red Heart Soft Touch, which is a bit smaller than the Bernat, but I thought it still looked fine.
Anyways, feel free to use this pattern, just link me back, and drop me a comment so I can come see how your project turned out.
The finished blanket is actually pretty large (that's it taking up about a third of my double bed).
I really enjoy the fact that it looks almost like it was worked in squares and then assembled, but the easy 95% double crochet pattern means no seams and really quick work up.
The pattern is very straight forward. You can use any yarn you like (and the recommended hook size on the label), my blanket took just under 4 balls of Bernat Giggles in Giggling Green (although in these pictures it does look more blue) and the white yarn was just left over Red Heart Soft Touch, which is a bit smaller than the Bernat, but I thought it still looked fine.
Anyways, feel free to use this pattern, just link me back, and drop me a comment so I can come see how your project turned out.
Sunday, July 13, 2014
Cake Decorating at Micheals Lesson 1
This afternoon, my friend Melissa and I attended our first cake decorating class at Michaels (an arts an crafts store). The class cost $20 to register, then about $40-$50 spent in buying Wilton's cake decorating equipment. And it runs for 2 hours a week for 4 weeks.
Tonight we brought in 6 cupcakes a piece and learned the basics.
First up we learned how to mix colours and fill icing bags, I went with a neon pink and a blue green swirl.
We then used a star tip to, well, make stars, do a star fill and make little swirls.
We practised piping the icing with even pressure over long lines, then made some cute little loops.
Next up we pulled out the big tip to make roses and swirl cupcake toppers.
Finally we went to town and iced our 6 cupcakes each (mine are on the left). Too bad I am watching what I eat, so I can't enjoy any of these bad boys. I'm guessing my lab will be happy about that, since that is where they are going to end up! Next weeks lesson we ice and decorate a full cake!
So maybe the class is really just a great way to push Wilton products and sales. And maybe apart from us everyone else in the room was under the age of 18. But it was a lot of fun, and I can't wait to improve my skills.
Week 1- cupcakes
Week 2- layer cake
Week 3 - decorate with flowers
Week 4 - ???
Tonight we brought in 6 cupcakes a piece and learned the basics.
First up we learned how to mix colours and fill icing bags, I went with a neon pink and a blue green swirl.
We then used a star tip to, well, make stars, do a star fill and make little swirls.
We practised piping the icing with even pressure over long lines, then made some cute little loops.
Next up we pulled out the big tip to make roses and swirl cupcake toppers.
Finally we went to town and iced our 6 cupcakes each (mine are on the left). Too bad I am watching what I eat, so I can't enjoy any of these bad boys. I'm guessing my lab will be happy about that, since that is where they are going to end up! Next weeks lesson we ice and decorate a full cake!
So maybe the class is really just a great way to push Wilton products and sales. And maybe apart from us everyone else in the room was under the age of 18. But it was a lot of fun, and I can't wait to improve my skills.
Week 1- cupcakes
Week 2- layer cake
Week 3 - decorate with flowers
Week 4 - ???
Monday, May 19, 2014
My new computer chair
Since I moved into my apartment (some 2 and a half years ago) I'd been using one of my dining table chairs as a computer chair in my room. Carrying it to and from every time I had people over. Eventually, I claimed, I would pick up a chair intended for my desk.
Turns out I'd rather upcycle one.
I picked up this old school looking chair in the free stuff area in the lobby of my building about 8 months back, with the intention of painting it and recovering it.
Originally the intent was to wait until summer so I could sand and paint the chair outside. Instead I opted for a drop cloth in my living room and a glass of wine.
Step 1: Pull of the seat, and toss the old fabric and foam (which was crumbling to the touch).
Step 2: Elbow grease and sand paper. Make sure you have some good tunes playing.
Step 3: wash and dry, all that sanding grit needs to some off before the paint can go on.
Step 4: Paint, pictured above is the chair after 1 coat. Looks pretty thin and uneven. I opted to do 3 full coats, drying the chair for a couple hours in between (if you don't live in super dry Alberta, you might want to wait overnight in between coats.)
Step 5: Recover the seat. Essentially the seats on these chairs are just a board, some foam and a piece of fabric. The foam and the fabric (a half yard is more than enough) came from Fabricland. I spray glued the foam in place, the stretched the fabric on and stapled it in place underneath (no sewing required).
Over all the project was pretty easy, and cost me about $30 for painting supplies, the foam and the fabric. And left me wishing two things:
1) that I had grabbed the second chair like this as well
2) that I had more things in my apartment which I could paint green
Have you done any interesting DIYs or UpCycles lately? Let me know in the comments!
Turns out I'd rather upcycle one.
I picked up this old school looking chair in the free stuff area in the lobby of my building about 8 months back, with the intention of painting it and recovering it.
Originally the intent was to wait until summer so I could sand and paint the chair outside. Instead I opted for a drop cloth in my living room and a glass of wine.
Step 1: Pull of the seat, and toss the old fabric and foam (which was crumbling to the touch).
Step 2: Elbow grease and sand paper. Make sure you have some good tunes playing.
Step 3: wash and dry, all that sanding grit needs to some off before the paint can go on.
Step 4: Paint, pictured above is the chair after 1 coat. Looks pretty thin and uneven. I opted to do 3 full coats, drying the chair for a couple hours in between (if you don't live in super dry Alberta, you might want to wait overnight in between coats.)
Step 5: Recover the seat. Essentially the seats on these chairs are just a board, some foam and a piece of fabric. The foam and the fabric (a half yard is more than enough) came from Fabricland. I spray glued the foam in place, the stretched the fabric on and stapled it in place underneath (no sewing required).
Over all the project was pretty easy, and cost me about $30 for painting supplies, the foam and the fabric. And left me wishing two things:
1) that I had grabbed the second chair like this as well
2) that I had more things in my apartment which I could paint green
Have you done any interesting DIYs or UpCycles lately? Let me know in the comments!
Sunday, February 16, 2014
Making our first homemade wine
Making my own wine has been on my to do list for the last 2 years, knowing this, Kevin bought me a groupon for a wine making course for my birthday last year, and last month (just before it expired) I finally got to go check it out. Naturally we went out and bought a wine kit a few days later to give it a try.
California Trinity Red from Wine Expert
So far, we've found the process to be pretty easy. Here's what we've done so far.
That's it for now, all we can do is wait, and give our wine unconditional love and affection. I really can't get over how truly little effort this process has been so far. May 30-40 min of work on each of the two processing days so far. I'm sure bottling will be a bit of a process, but we'll have 30 bottles of wine to show for our effort, and a 70 dollar investment in the kit. Equipment runs maybe another $80, but since we'll be repeating this process many times I'm sure, I won't count that.
Have you ever made your own wine, beer or cider? How did it turn out? Tell me all about it in the comments, we want to try beer next!
California Trinity Red from Wine Expert
|
||||
An ideal blending of three of California 's most popular grape varieties - Cabernet Franc, Cabernet Sauvignon, and Merlot, coming together to make a perfectly balanced, well- structured dry red wine. Notes of black cherry and coffee complement the smokey, herbal flavours, and hints of vanilla that round out this medium bodied wine , making it highly enjoyable for any occasion. Serve with a roast dinner or barbecued steak. | ||||
- Clean and sanitize your equipment (plastic primary pail, stiring spoon, sample thingy and hydrometer, rinse well and let dry.
- Heat 4L distilled water, add two liters to primary. Add in the bentonite package and mix well to ensure no lumps. Add in the juice (10L), use the other 2L of heated water into the juice package to rinse last of the juice into the primary. Add distilled water to the 23L point. Stir like heck.
- Check hydrometer reading, recall reading for water is 1.000, reading for you red wine at this stage will be higher than water (because it's chuck full of sugars) as the wine ferments, the sugars will turn into alcohols and the reading will drop below 1. Our reading at this point was 1.093.
- Sprinkle in the oak packages and stir them under the surface. Once the fluids still (no longer swirling) sprinkle the dry yeast onto the surface. Do not stir. Wine temperature should be between 21 and 24'C at this point, a great temperature for the yeast to activate and get to work.
- Put the lid on the primary, and seal the hole with the bung and the air lock (don't forget to put some water in the air lock!)
- The yeast will activate and begin fermenting all on their own over the next 24-48 hours (may take a bit longer if it's colder). For us, by the next morning the lid on the primary was already 'puffed' out by the building gases, and by 24h bubbles were coming through the air lock.
- Leave you wine alone for the next 5 days, preferably raised up off the ground (which is usually really cold, we've got ours on the bar counter). After 5-7 days check your hydrometer reading, it should have dropped to 1.010 or less. If it hasn't wait longer before moving to step 2. However, don't leave your wine in primary longer than 10 days.
- At day 6 we checked our wine, I had a good feeling about it, since it had been bubbling happily all week, though by day five the bubbling was slowing down, suggesting most of the sugars had been consumed. Ours was reading an excellent 1.000, as this is less than the minimum 1.010, we we good to move on to step 2: Rack your wine.
- Racking your wine really just means siphoning it out of the primary (and away from all the sediment and oak chunks) in into a glass carboy. Here's where I have to give a huge shout out to my PhD supervisor and his wife, who gave us their old carboys (good Italian ones, which won't spontaneously shatter on you). You can use an auto-siphon, or do it the old fashioned way and mouth siphon it (Kevin did ours, he says it almost tastes like wine already!).
- Once it's in the glass carboy, throw the bung back in the top, and the air lock back on. It my continue to bubble, ours still is a bit, or not (but that's ok).
- Leave it alone, back on the counter, for another 10 days.
That's it for now, all we can do is wait, and give our wine unconditional love and affection. I really can't get over how truly little effort this process has been so far. May 30-40 min of work on each of the two processing days so far. I'm sure bottling will be a bit of a process, but we'll have 30 bottles of wine to show for our effort, and a 70 dollar investment in the kit. Equipment runs maybe another $80, but since we'll be repeating this process many times I'm sure, I won't count that.
Have you ever made your own wine, beer or cider? How did it turn out? Tell me all about it in the comments, we want to try beer next!
Subscribe to:
Posts (Atom)